The Bleep Drum
Instructions & parts list for all versions | User Guide | Hacking | Bleep Drum Code | Dam Drum 2 code | Schematics
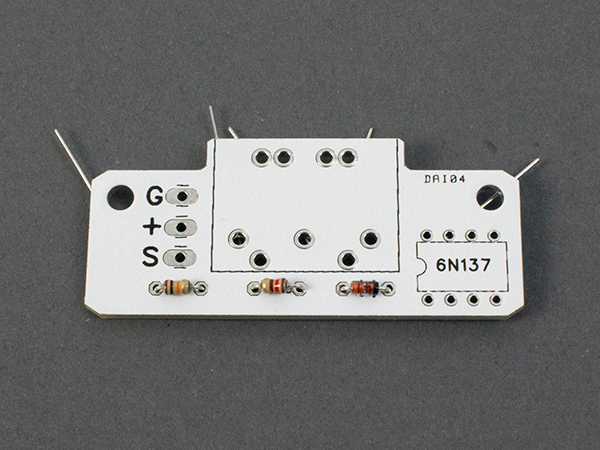
First install the two resistors and diode (note that your board might be black). The 10k with the orange line on the left and the 120 with a red line in the middle
The diode must be installed with the line on the right as show.
Cut the leads just as before.
______________________________________________________________________________________________________________________
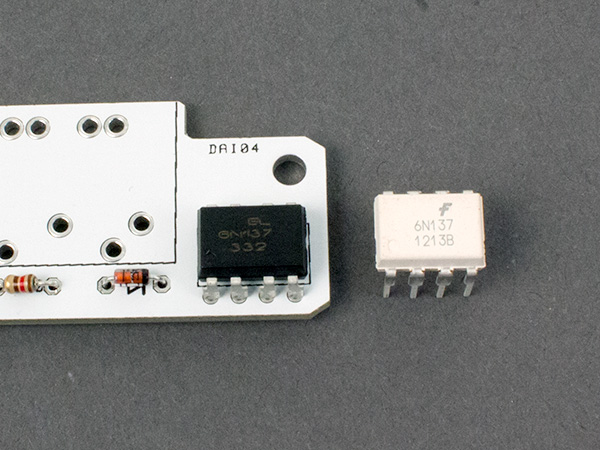
Next is the 6n137 chip. There is no DIP for it so be sure to install it in the correct direction. You might receive a black or white chip. Either way the small cicle should be in the bottom left corner and text should be right side up.
______________________________________________________________________________________________________________________
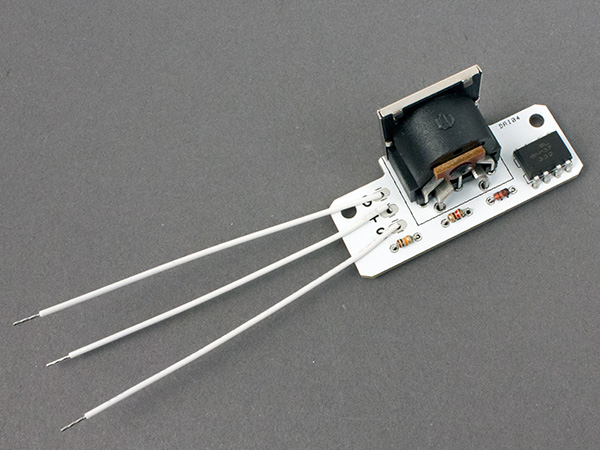
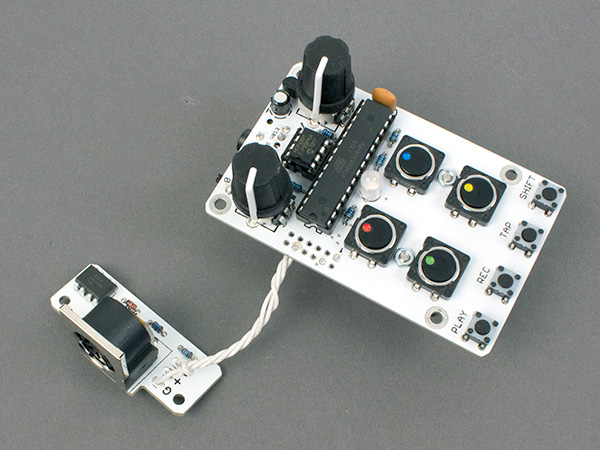
Now install the MIDI jack and wires and solder everything up.
______________________________________________________________________________________________________________________
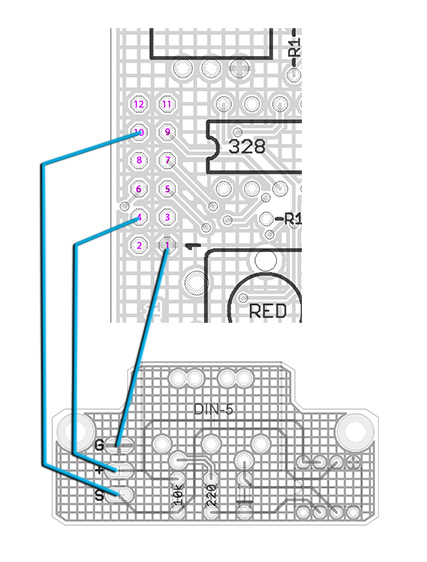
The next step is to wire the two boards together. Use this diagram to attach the three wires to the correct places on the main PCB.
______________________________________________________________________________________________________________________
Before you mount the bottom plate, make sure the MIDI input is working. Here the full user guide.
______________________________________________________________________________________________________________________
Now the bottom plate goes on. First remove the masking paper from the white plate.
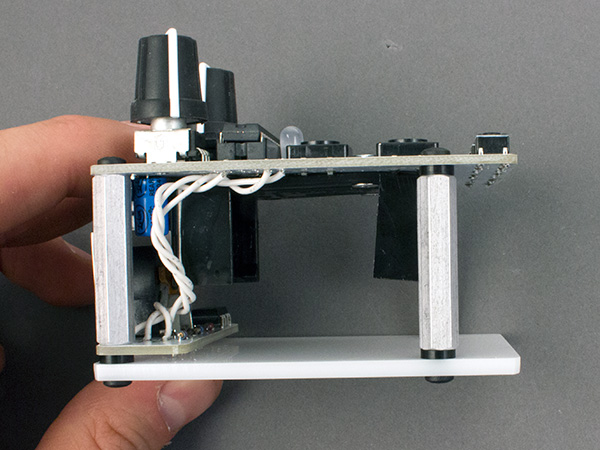
Then insert two black plastic screws through the bottom of the plate. Washers go over the screws, then the midi board then the aluminum standoffs.
Take care not to over tighten them.
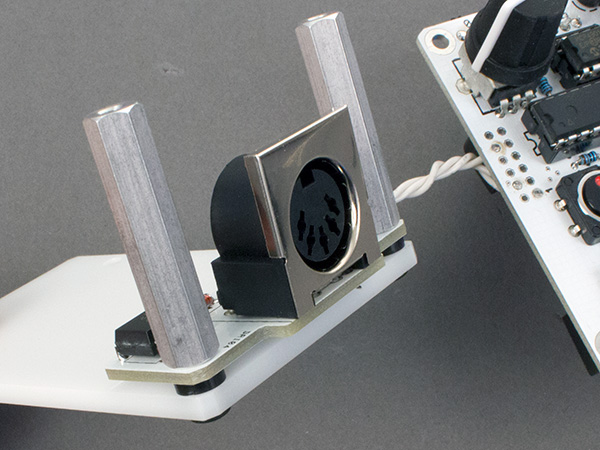
The front legs go on in a similar way but there is a washer on the top side as well.
The last step is to swap out the included ATMega328 with the one installed in your Bleep Drum.
Use a small screwdriver to pry between the chip and dip.
Here’s the user guide and MIDI implementation info.